11-09 14:26
- Today
- Total
Link
개발하는 고라니
[Spring Boot] Security 로그인 커스터마이징 본문
반응형
Spring Security를 이용하면 로그인 페이지를 기본으로 제공해준다. 그 페이지의 모습은 다음과 같다.

이 때의 Security 설정은 어떤 모습일까?
@Configuration
@Log4j2
@EnableGlobalMethodSecurity(securedEnabled = true, prePostEnabled = true)
public class SecurityConfig extends WebSecurityConfigurerAdapter {

    @Autowired
    private CustomUserDetailsService userDetailsService;

    @Bean
    PasswordEncoder passwordEncoder(){
        return new BCryptPasswordEncoder();
    }

    @Override
    protected void configure(HttpSecurity http) throws Exception {
        http.csrf().disable();

        http.rememberMe().tokenValiditySeconds(60 * 60 * 24 * 3).userDetailsService(userDetailsService); //3days

        http.formLogin(); //기본 로그인 페이지 사용
        http.logout();
    }
}
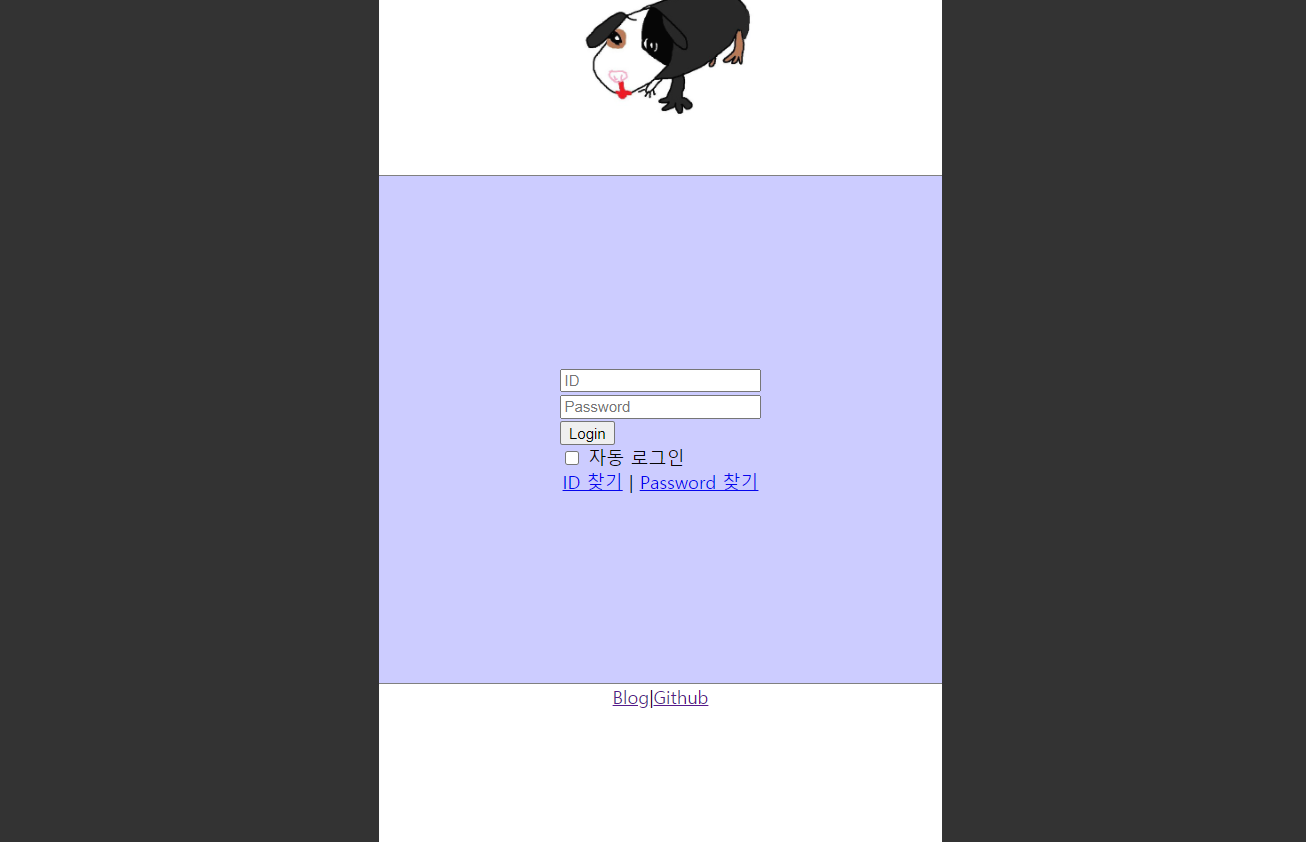
http.formLogin()만 적어둔다면 시큐리티가 제공해주는 기본 로그인 페이지를 사용하게 된다. 하지만 이를 사용자에 맞게 커스터마이징 하고싶다면 어떻게 해야할까?
우선 login.html이라는 페이지를 준비한다. 이때 ID와 비밀번호의 name 속성은 username과 password로 지정해야한다. (물론 시큐리티 설정 파일에서 다른 걸 사용하도록 변경할 수 있다.)
<!DOCTYPE html>
<html lang="en" xmlns:th="http://www.thymeleaf.org">
<head>
    <meta charset="UTF-8">
    <title>My Community 로그인</title>
<style>
...
</style>
</head>
<body>
    <header>
        <div class="container">
            <div class="header-container">
                <a th:href="@{/index}">

                </a>
            </div>
        </div>
    </header>

    <main>
        <div class="container">
            <form th:action="@{/login_post}" method="post">
                <div>
                    <input type="text" name="username" placeholder="ID">
                </div>
                <div>
                    <input type="password" name="password" placeholder="Password">
                </div>
                <div>
                    <button type="submit">Login</button>
                </div>
                <div>
                    <input type="checkbox" name="remember-me">
                    <label>자동 로그인</label>
                </div>
            </form>
            <nav>
                <a href="#">ID 찾기</a> |
                <a href="#">Password 찾기</a>
            </nav>
        </div>
    </main>

    <footer>
        <div class="container">
            <a href="https://dev-gorany.tistory.com/">Blog</a> |
            <a href="https://github.com/rhacnddl">Github</a>
        </div>
    </footer>

</body>
</html>
HTML파일도 준비했으니 스프링 시큐리티에 적용만 하면 된다.
    @Override
    protected void configure(HttpSecurity http) throws Exception {
        http.csrf().disable();

        http.rememberMe().tokenValiditySeconds(60 * 60 * 24 * 3).userDetailsService(userDetailsService); //3days

        http.formLogin().loginPage("/login").loginProcessingUrl("/login_post").defaultSuccessUrl("/index");

        http.logout();
}- loginPage() : 불러올 로그인 페이지
- loginProcessingUrl() : 로그인 정보를 보낼 액션 페이지
- defaultSuccessUrl() : 로그인 성공 시 보낼 페이지

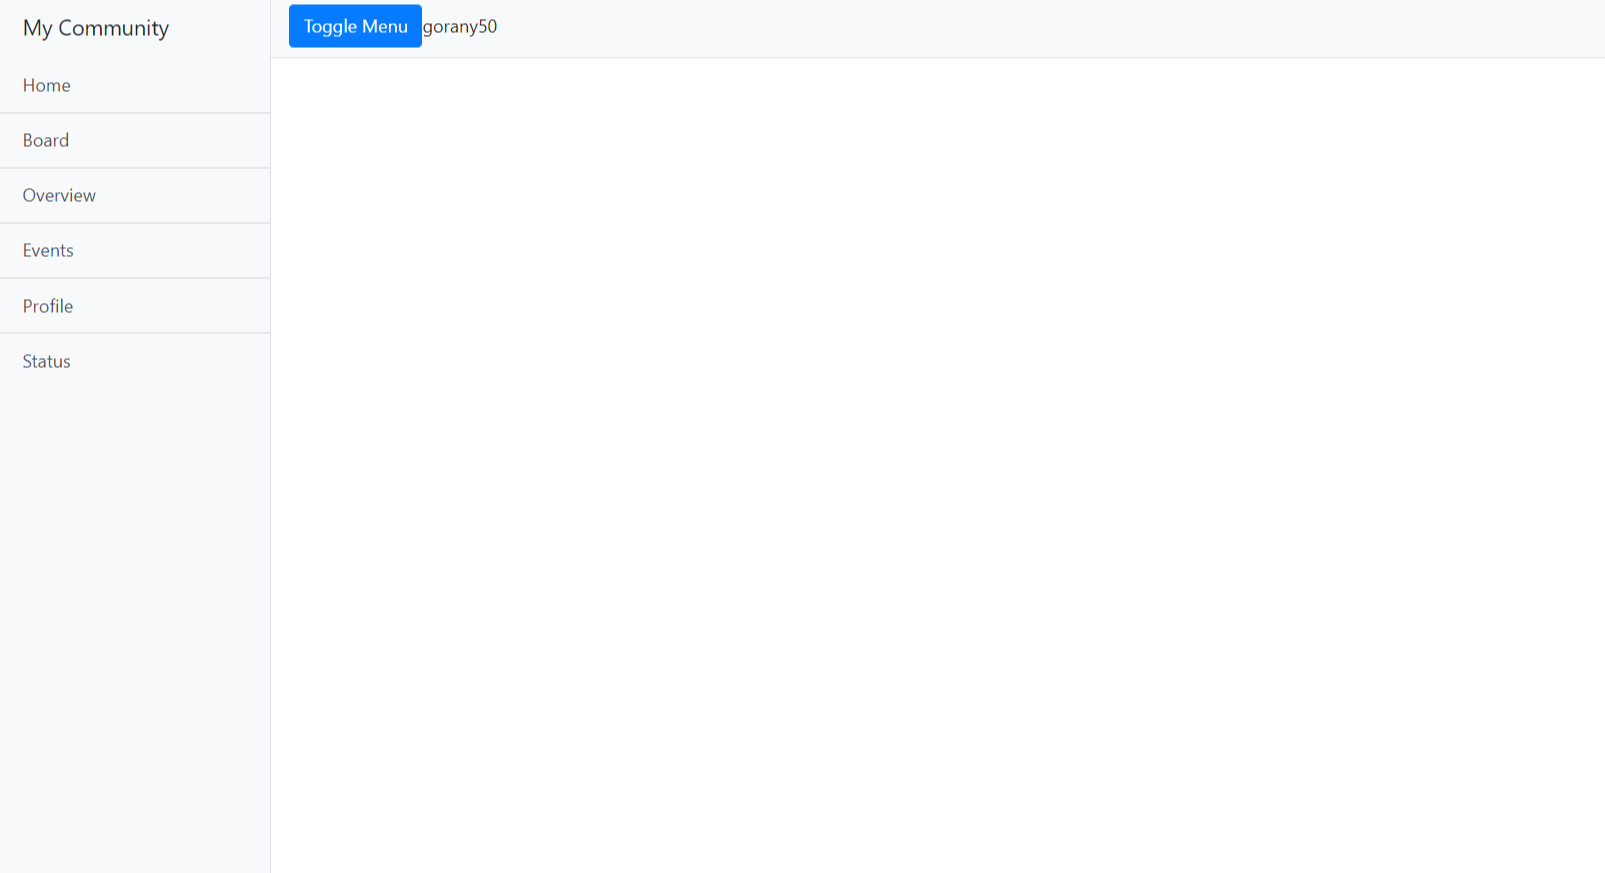
이제 로그인을 하면?

성공 ^_^
반응형
'Framework > Spring Boot' 카테고리의 다른 글
| [Spring Boot] WebSocket과 채팅 (1) (49) | 2021.03.30 |
|---|---|
| [Spring Boot] XSS (0) | 2021.03.28 |
| [Spring Boot] Security 사용자 정보 출력 in Thymeleaf (0) | 2021.03.05 |
| [Spring Boot] JPA 관련 용어 (0) | 2021.02.20 |
| [Spring Boot] @MappedSuperClass (0) | 2021.01.14 |
Comments


